如何使用qemu启动openeuler-24.03-LTS-SP2
首先,需要下载相关的文件,直接在官网下载即可。
链接:openEuler下载 | openEuler ISO镜像 | openEuler社区
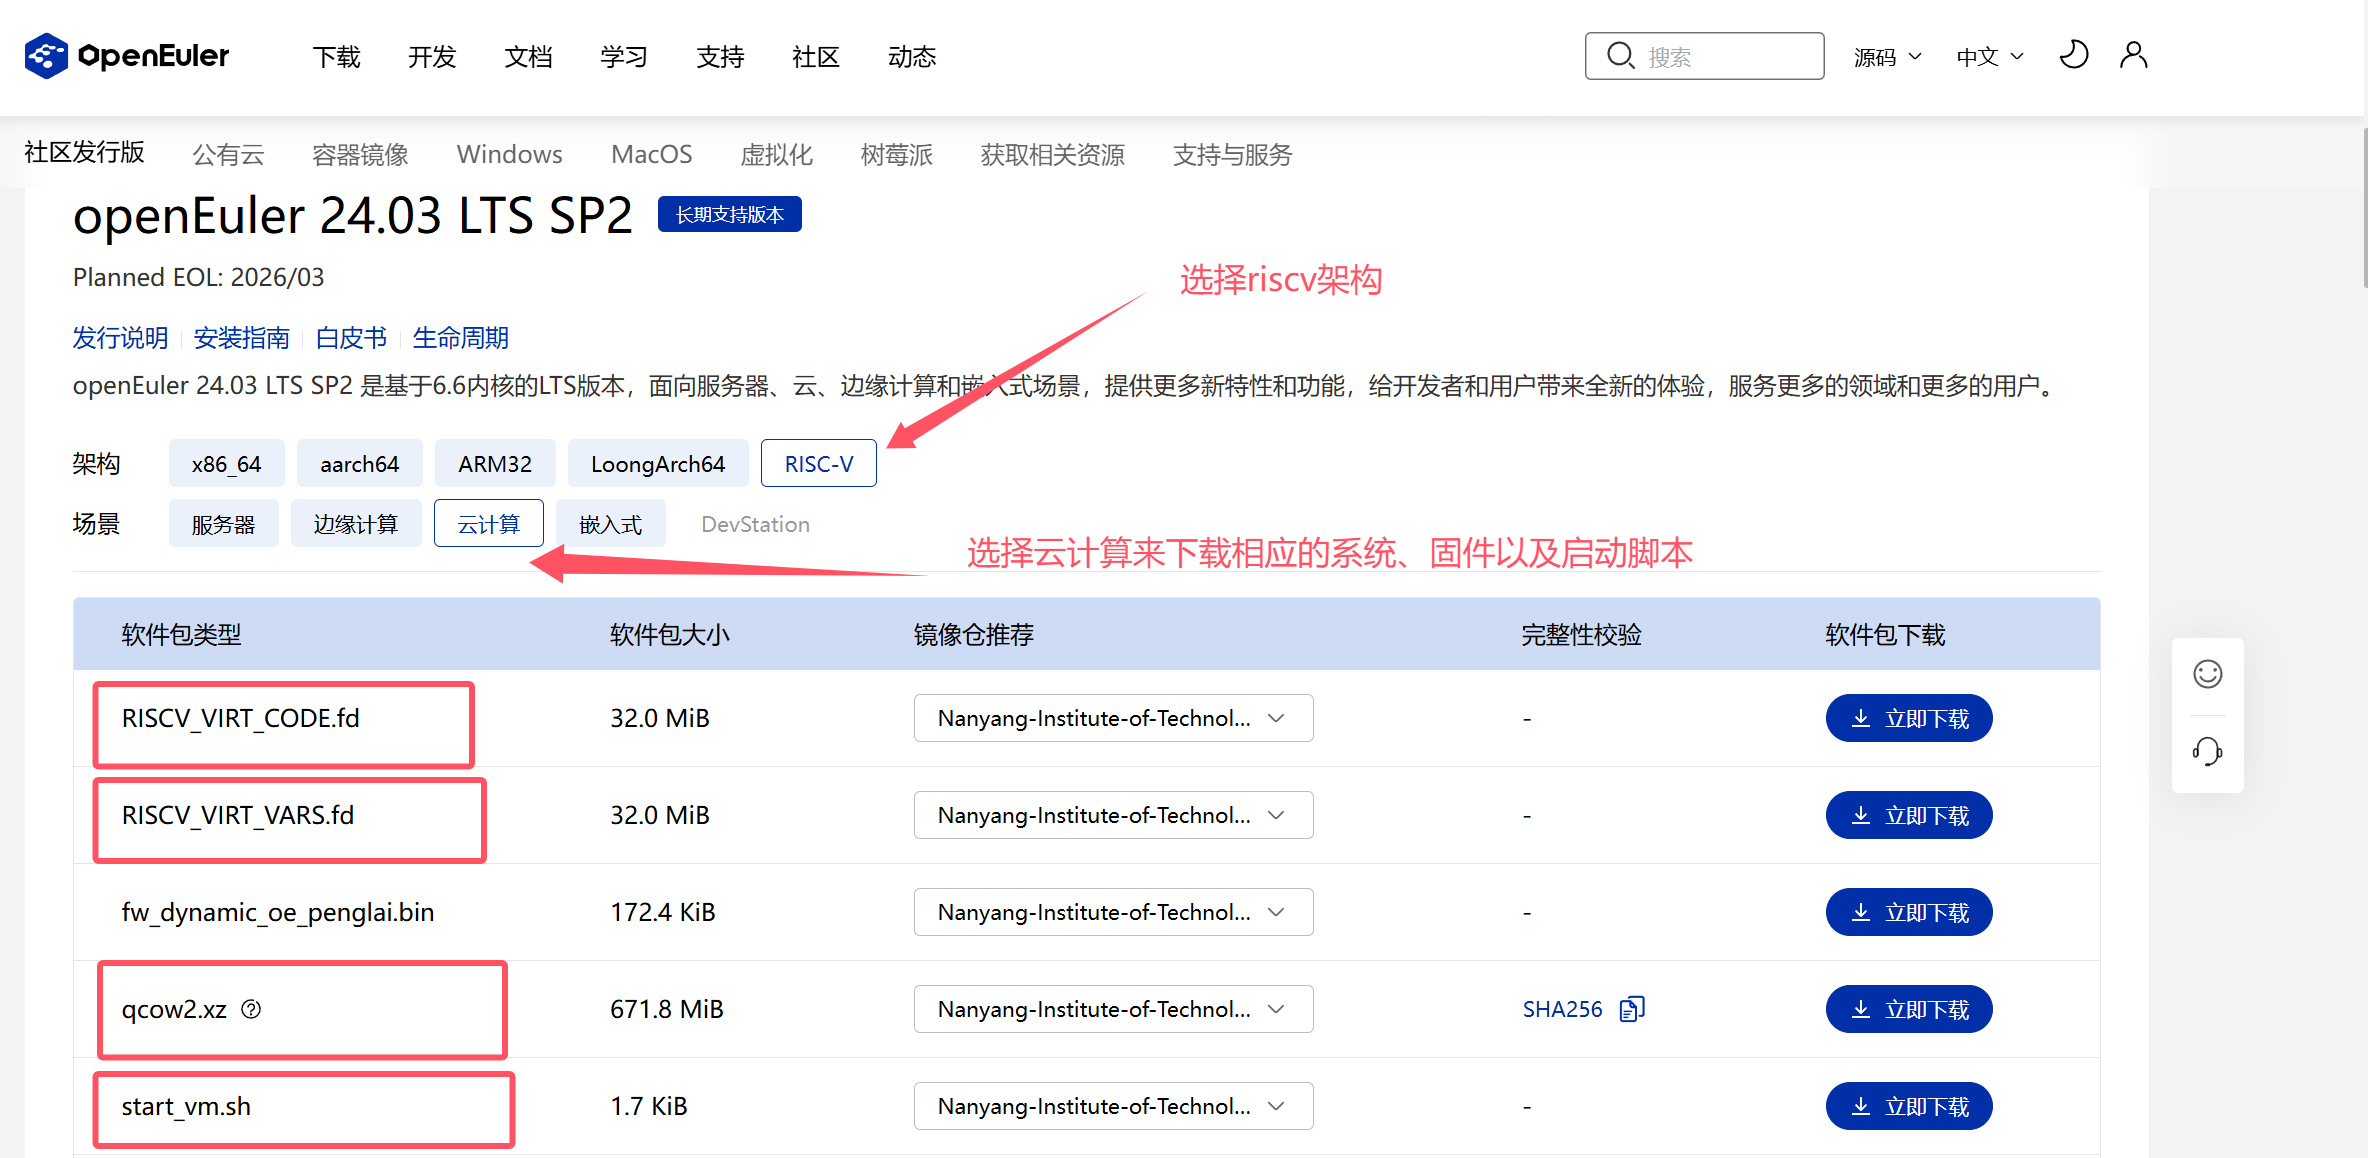
图上这个4个文件是必要的,其余的可以选择下载。
https://mirror.nyist.edu.cn/openeuler/openEuler-24.03-LTS-SP2/virtual_machine_img/riscv64/RISCV_VIRT_CODE.fd

https://mirror.nyist.edu.cn/openeuler/openEuler-24.03-LTS-SP2/virtual_machine_img/riscv64/RISCV_VIRT_VARS.fd

https://mirror.nyist.edu.cn/openeuler/openEuler-24.03-LTS-SP2/virtual_machine_img/riscv64/start_vm.sh

https://mirror.nyist.edu.cn/openeuler/openEuler-24.03-LTS-SP2/virtual_machine_img/riscv64/openEuler-24.03-LTS-SP2-riscv64.qcow2.xz
笔者这里使用的ubuntu24,需要提前安装需要的软件包
apt install -y qemu-system xz-utils

#有了xz工具,才可以解压镜像文件
#unxz -k file,使用-k会保留原文件,否则就会解压后删掉原来的
unxz -k openEuler-24.03-LTS-SP2-riscv64.qcow2.xz

#解压完成后的目录结构:
ls
RISCV_VIRT_CODE.fd  openEuler-24.03-LTS-SP2-riscv64.qcow2     start_vm.sh
RISCV_VIRT_VARS.fd  openEuler-24.03-LTS-SP2-riscv64.qcow2.xz

#解压以后,可以看一下qcow2文件的信息,可见,磁盘只有40G,可以对其进行扩容操作
qemu-img info openEuler-24.03-LTS-SP2-riscv64.qcow2

image: openEuler-24.03-LTS-SP2-riscv64.qcow2
file format: qcow2
virtual size: 40 GiB (42949672960 bytes)
disk size: 1.29 GiB
cluster_size: 65536
Format specific information:
    compat: 1.1
    compression type: zlib
    lazy refcounts: false
    refcount bits: 16
    corrupt: false
    extended l2: false
Child node '/file':
    filename: openEuler-24.03-LTS-SP2-riscv64.qcow2
    protocol type: file
    file length: 1.29 GiB (1388380160 bytes)
    disk size: 1.29 GiB
对磁盘进行扩容
#对磁盘增加100G的空间
qemu-img resize openEuler-24.03-LTS-SP2-riscv64.qcow2 +100G
Image resized.
#再查看qcow2文件的信息,立即就增加了100G的容量
qemu-img info openEuler-24.03-LTS-SP2-riscv64.qcow2
image: openEuler-24.03-LTS-SP2-riscv64.qcow2
file format: qcow2
virtual size: 140 GiB (150323855360 bytes)
#要真正的扩容,还需要启动系统,修改分区表的信息
#给脚本增加执行权限,即可以一键启动系统
chmod +x start_vm.sh
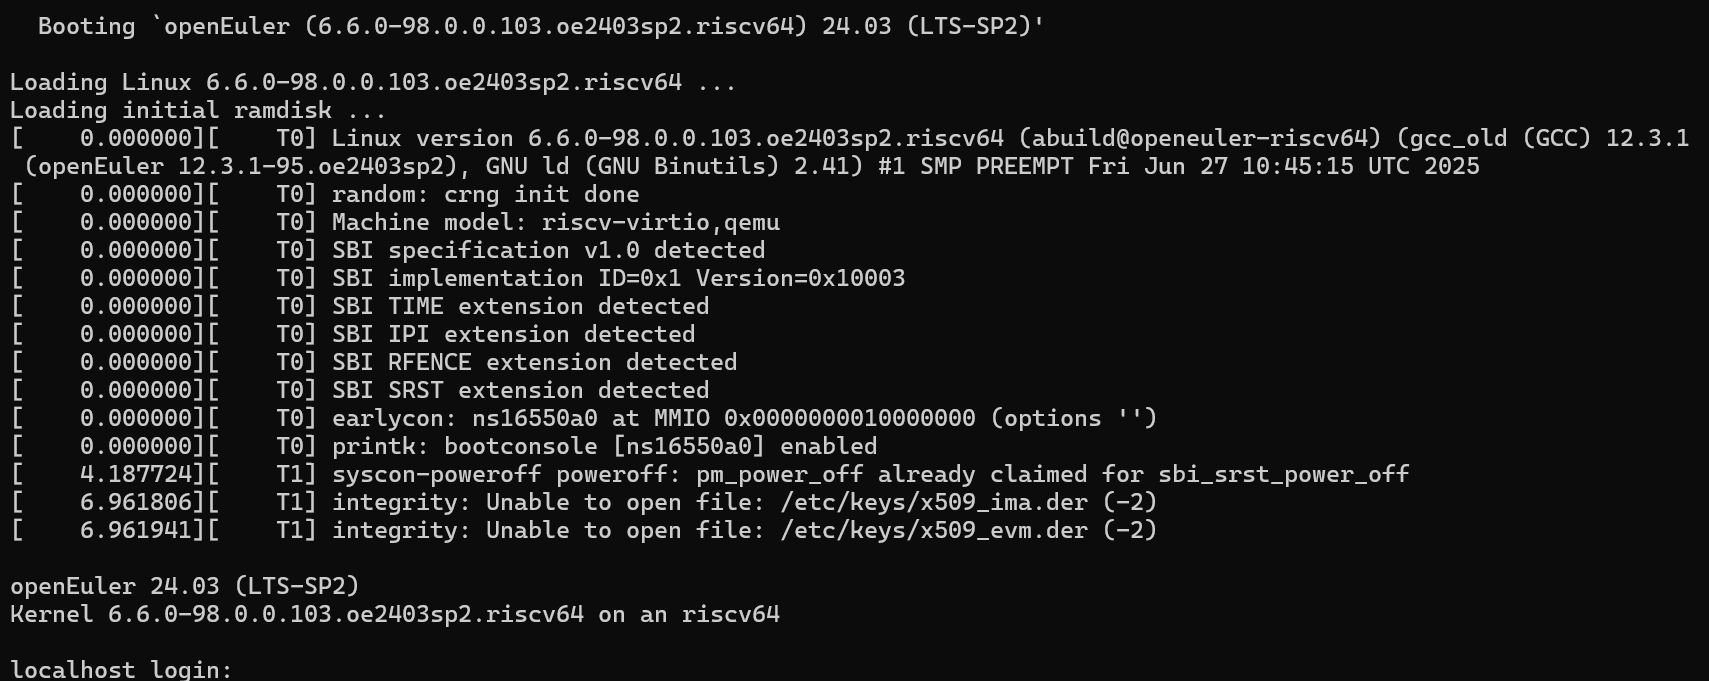
./start_vm.sh
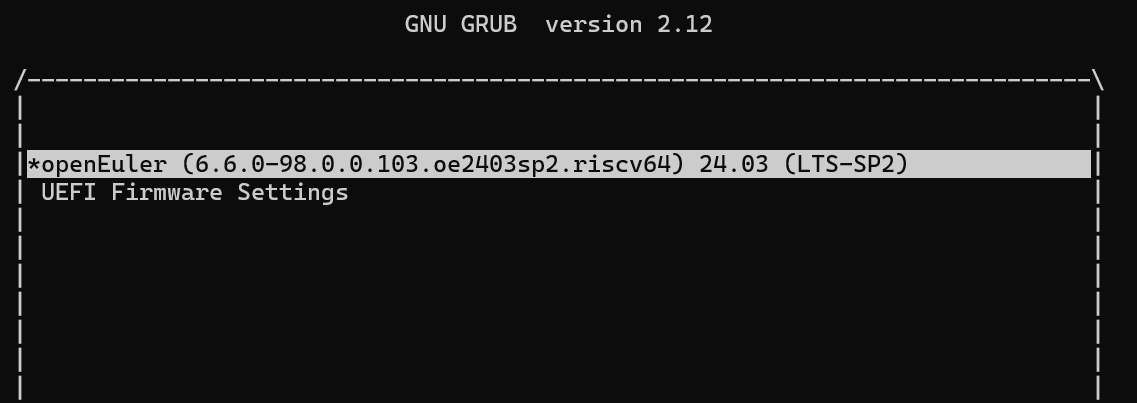
回车,即可以很快的进入系统
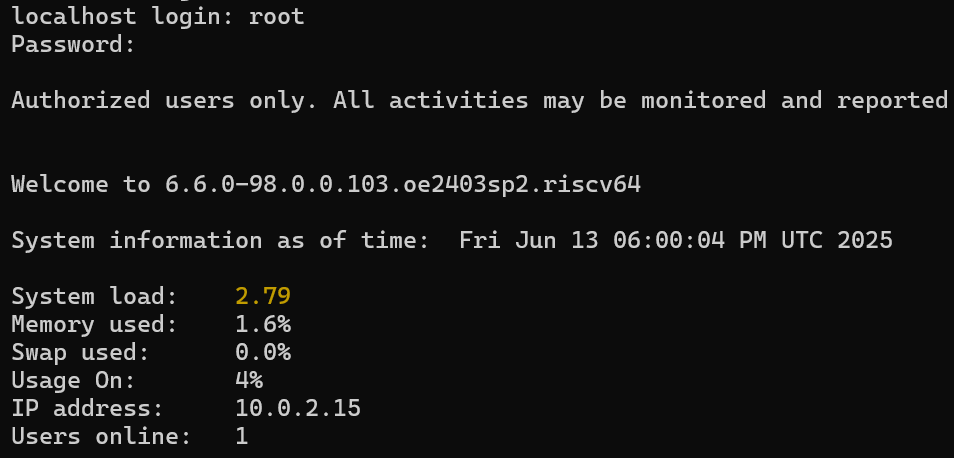
账号密码:
#用户名: root
#初始密码: openEuler12#$

#建议使用passwd修改密码
继续完成磁盘的扩容操作
[root@localhost ~]# fdisk -l
Disk /dev/vda: 140 GiB, 150323855360 bytes, 293601280 sectors
Units: sectors of 1 * 512 = 512 bytes
Sector size (logical/physical): 512 bytes / 512 bytes
I/O size (minimum/optimal): 512 bytes / 512 bytes
Disklabel type: dos
Disk identifier: 0xafa7bdda

Device     Boot   Start      End  Sectors Size Id Type
/dev/vda1          2048  4194303  4192256   2G  e W95 FAT16 (LBA)
/dev/vda2       4194304 83886079 79691776  38G 83 Linux

#以上可见,磁盘分区还需要修改,让我们完成修改。
# /dev/vda 和 /dev/vda2 就是需要修改的目标
# 下面是一次完整的磁盘分区调整操作

[root@localhost ~]# fdisk /dev/vda

Welcome to fdisk (util-linux 2.39.1).
Changes will remain in memory only, until you decide to write them.
Be careful before using the write command.

This disk is currently in use - repartitioning is probably a bad idea.
It's recommended to umount all file systems, and swapoff all swap
partitions on this disk.

#p是显示当前分区信息
Command (m for help): p

Disk /dev/vda: 140 GiB, 150323855360 bytes, 293601280 sectors
Units: sectors of 1 * 512 = 512 bytes
Sector size (logical/physical): 512 bytes / 512 bytes
I/O size (minimum/optimal): 512 bytes / 512 bytes
Disklabel type: dos
Disk identifier: 0xafa7bdda

Device     Boot   Start      End  Sectors Size Id Type
/dev/vda1          2048  4194303  4192256   2G  e W95 FAT16 (LBA)
/dev/vda2       4194304 83886079 79691776  38G 83 Linux

#d是删除分区命令,后面提供删除哪一个分区
Command (m for help): d
Partition number (1,2, default 2): 2

Partition 2 has been deleted.

#n是新建分区
#这里是由于MBR分区的限制,目前只有一个分区,所以可以直接创建主分区:p
#如果分区数量超过4了,就要选择扩展分区:e
Command (m for help): n
Partition type
   p   primary (1 primary, 0 extended, 3 free)
   e   extended (container for logical partitions)
Select (default p): p

#分区号,目前只有一个分区,按顺序+1即可
Partition number (2-4, default 2): 2
#指定该分区的起始扇区号和结束扇区号,这里分别回车即可,如果不需要再创建其他分区的话
First sector (4194304-293601279, default 4194304):
Last sector, +/-sectors or +/-size{K,M,G,T,P} (4194304-293601279, default 293601279):

Created a new partition 2 of type 'Linux' and of size 138 GiB.
Partition #2 contains a ext4 signature.
#N即可
Do you want to remove the signature? [Y]es/[N]o: N
#再检查一下,确认无误,后面再w写入磁盘
Command (m for help): p

Disk /dev/vda: 140 GiB, 150323855360 bytes, 293601280 sectors
Units: sectors of 1 * 512 = 512 bytes
Sector size (logical/physical): 512 bytes / 512 bytes
I/O size (minimum/optimal): 512 bytes / 512 bytes
Disklabel type: dos
Disk identifier: 0xafa7bdda

Device     Boot   Start       End   Sectors  Size Id Type
/dev/vda1          2048   4194303   4192256    2G  e W95 FAT16 (LBA)
/dev/vda2       4194304 293601279 289406976  138G 83 Linux
#写入磁盘,本次分区结束。
Command (m for help): w
The partition table has been altered.
Syncing disks.

#分区修改生效
[root@localhost ~]# fdisk -l
Disk /dev/vda: 140 GiB, 150323855360 bytes, 293601280 sectors
Units: sectors of 1 * 512 = 512 bytes
Sector size (logical/physical): 512 bytes / 512 bytes
I/O size (minimum/optimal): 512 bytes / 512 bytes
Disklabel type: dos
Disk identifier: 0xafa7bdda

Device     Boot   Start       End   Sectors  Size Id Type
/dev/vda1          2048   4194303   4192256    2G  e W95 FAT16 (LBA)
/dev/vda2       4194304 293601279 289406976  138G 83 Linux
分区完成,为了使用方便,还可以装一些常用的软件:
[root@localhost ~]# date
Fri Jun 13 06:12:48 PM UTC 2025

#至少,时间管理工具需要安装吧,否则时间错误, chrony
dnf install -y chrony vim net-tools util-linux

[root@localhost ~]# dnf install -y chrony net-tools util-linux vim
OS                                              234 kB/s | 2.9 MB     00:12
everything                                      657 kB/s |  16 MB     00:24
EPOL                                            627 kB/s | 4.6 MB     00:07
debuginfo                                       627 kB/s | 4.2 MB     00:06
source                                          346 kB/s | 1.7 MB     00:05
update                                           42  B/s | 241  B     00:05
update-source                                   365 kB/s | 1.7 MB     00:04
Last metadata expiration check: 0:00:02 ago on Fri 13 Jun 2025 06:17:52 PM UTC.
Package net-tools-2.10-5.oe2403sp2.riscv64 is already installed.
Package util-linux-2.39.1-22.oe2403sp2.riscv64 is already installed.
Dependencies resolved.
================================================================================
 Package                Arch        Version                        Repo    Size
================================================================================
Installing:
 chrony                 riscv64     4.3-3.oe2403sp2                OS     204 k
 vim-enhanced           riscv64     2:9.0.2092-18.oe2403sp2        OS     1.6 M
 ......

#启动chrony服务来同步时间。
[root@localhost ~]# systemctl enable chronyd
[root@localhost ~]# date
Fri Jun 13 06:22:32 PM UTC 2025
[root@localhost ~]# systemctl start chronyd
[root@localhost ~]# date
Thu Jul 10 11:59:53 AM UTC 2025
至此,系统设置完毕,就可以尽情探索和体验系统了。